welcome to the blog
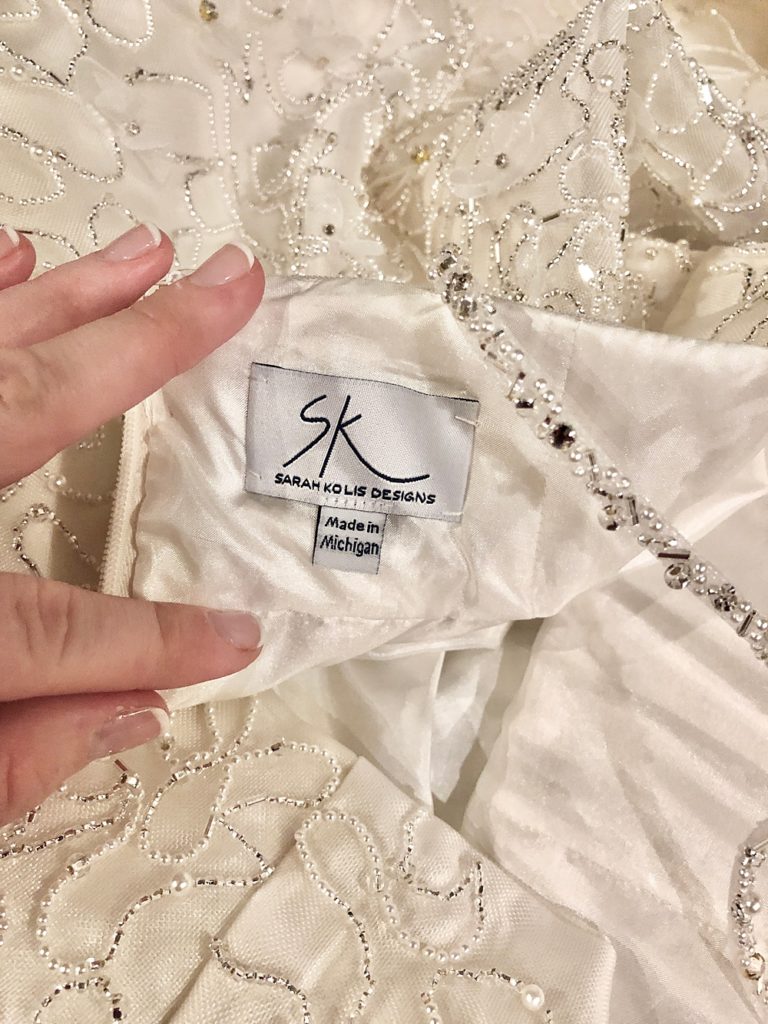
Hi! I'm Sarah Kolis, a custom couture wedding dress designer based in Michigan but serving the whole midwest. I love creating custom gowns and alterations for clients and I have a special love for vintage fashion. Thanks for stopping by!
categories
custom
alterations
tips
creative
Designing My Own Custom Couture Wedding Gown
posted in :Custom
April 26, 2021
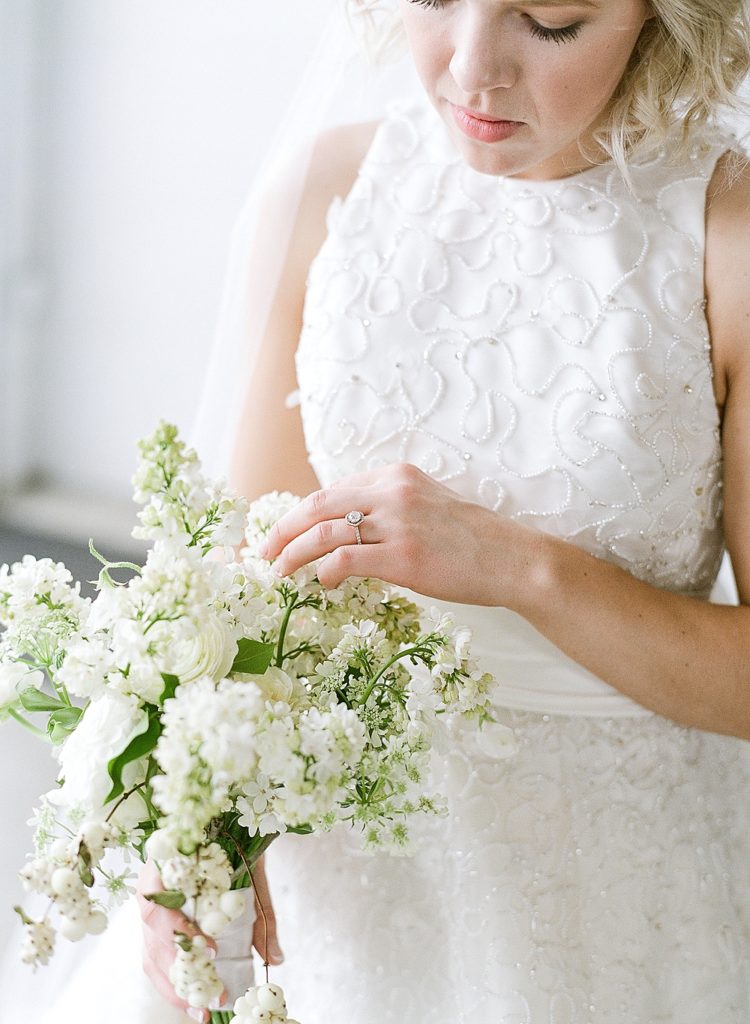
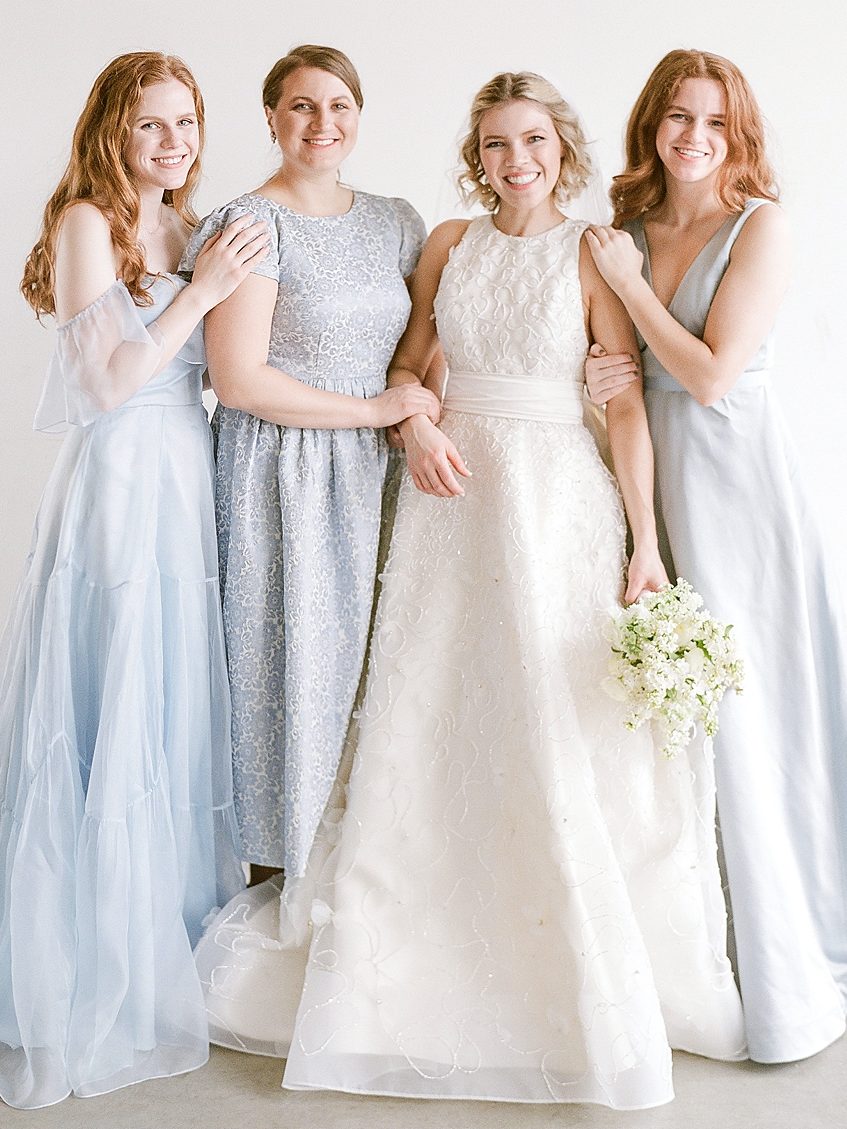
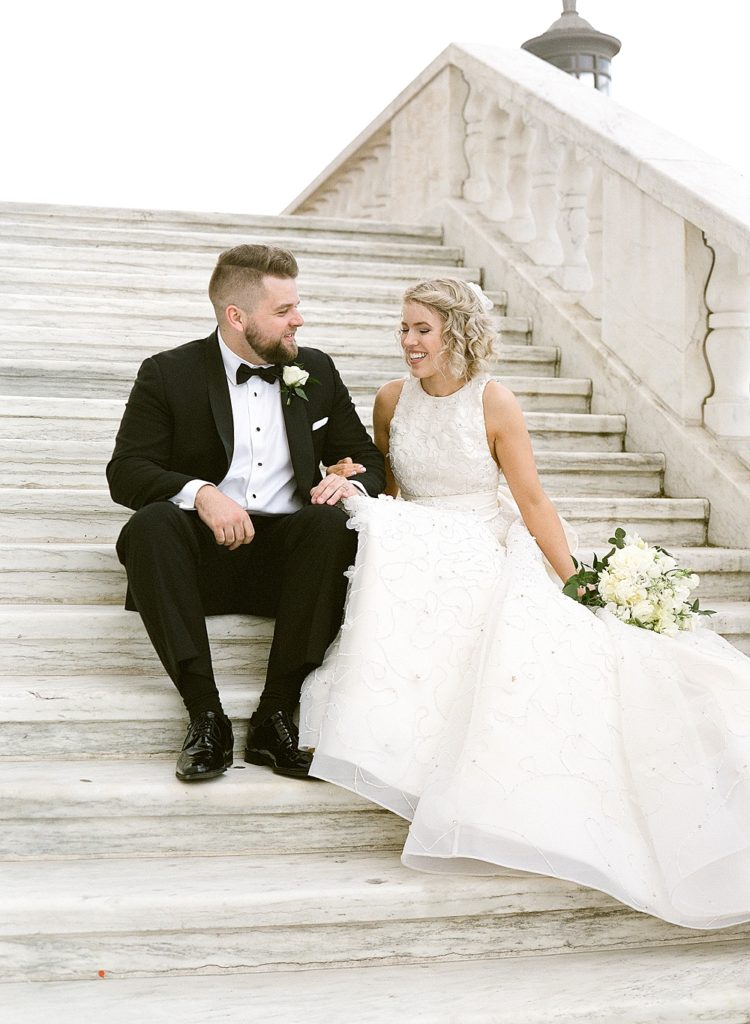
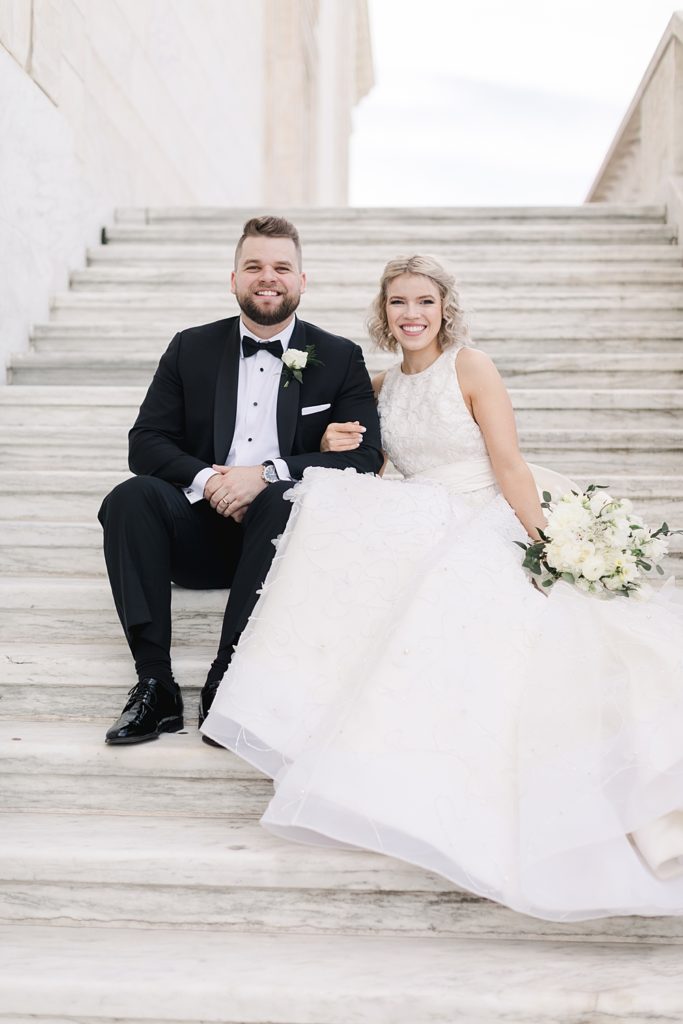
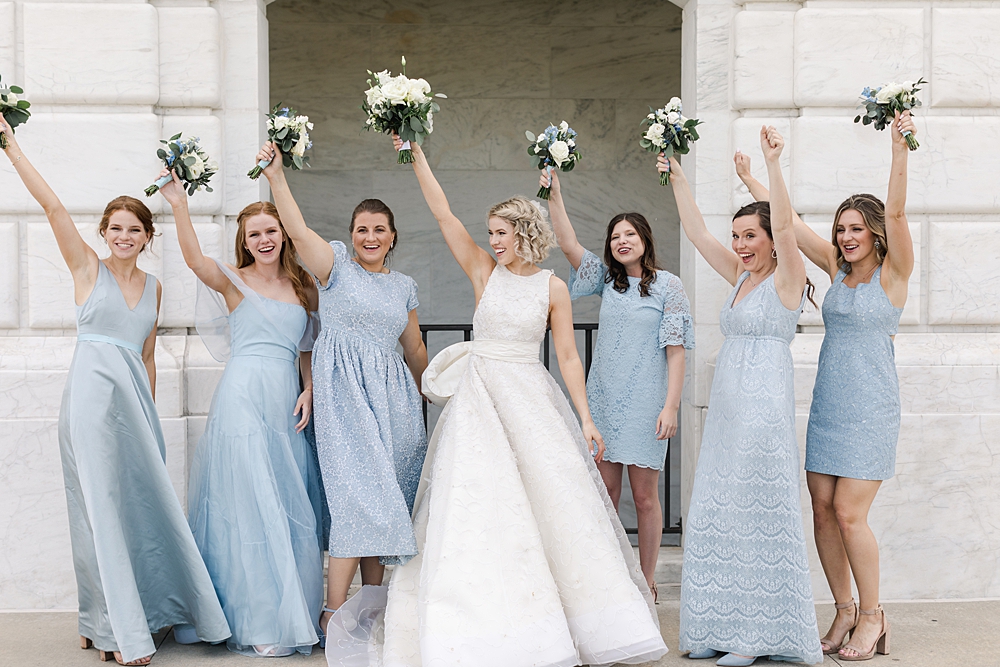
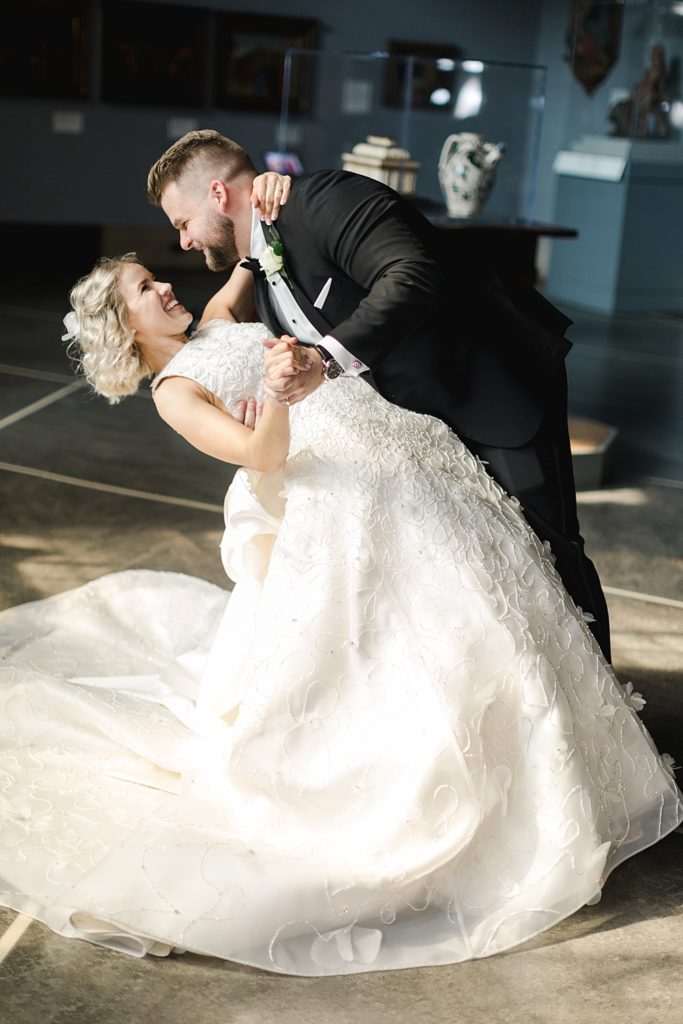
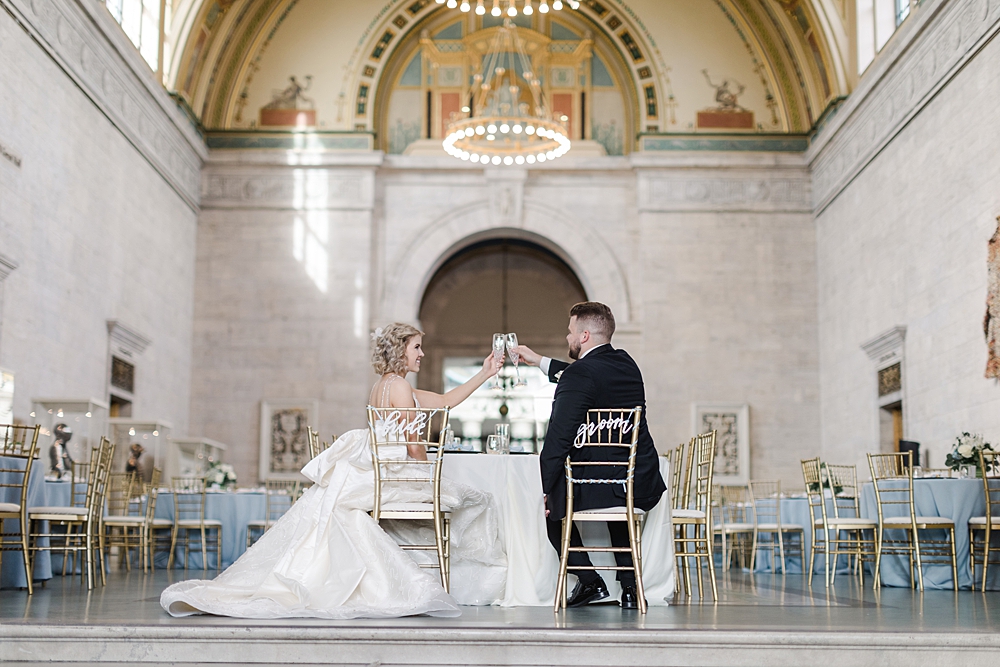
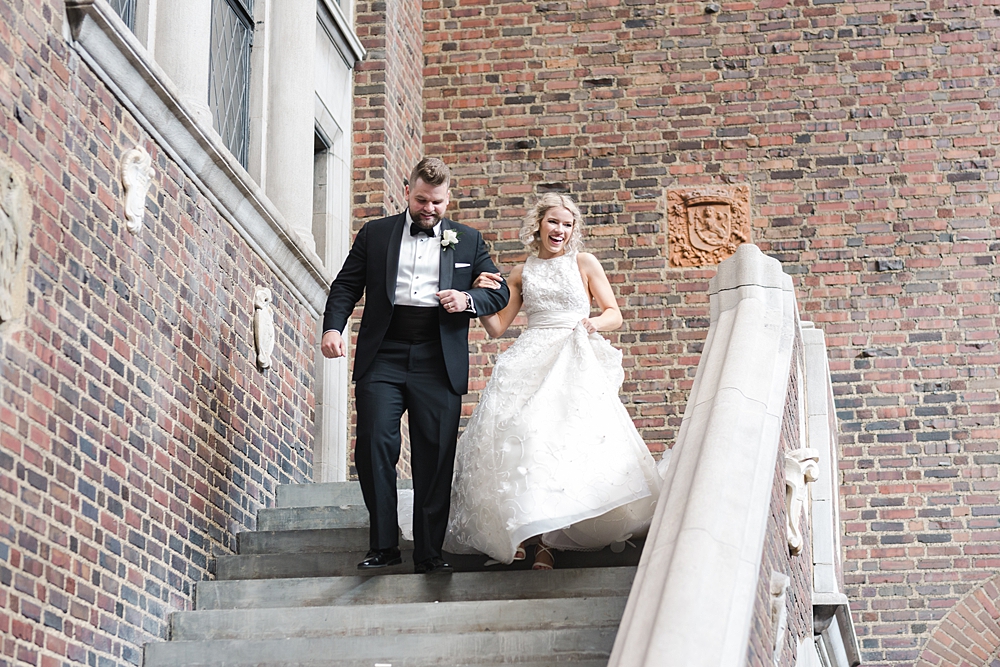
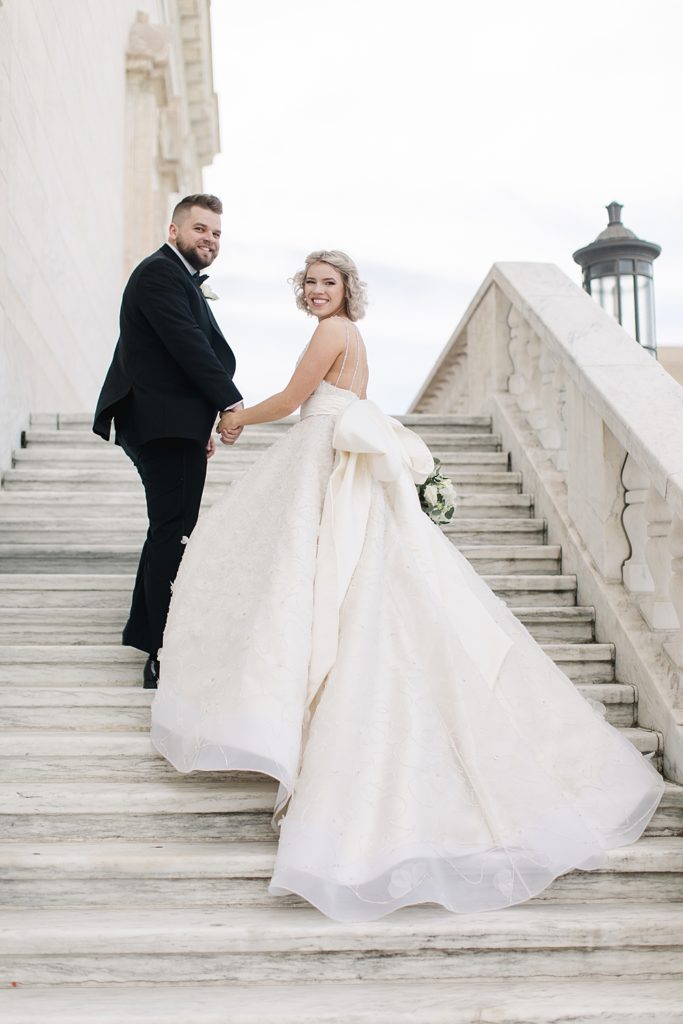
It is typical for children to dream about their future wedding or future wedding gown. My dreams grew far and wide, maybe even too much for my own good! But the results are invaluable, even the memories alone. My dreams were truly brought to life on June 8th, 2019, when I married my high school sweetheart, Billy, in a gorgeous, custom wedding gown I made with my own two hands.
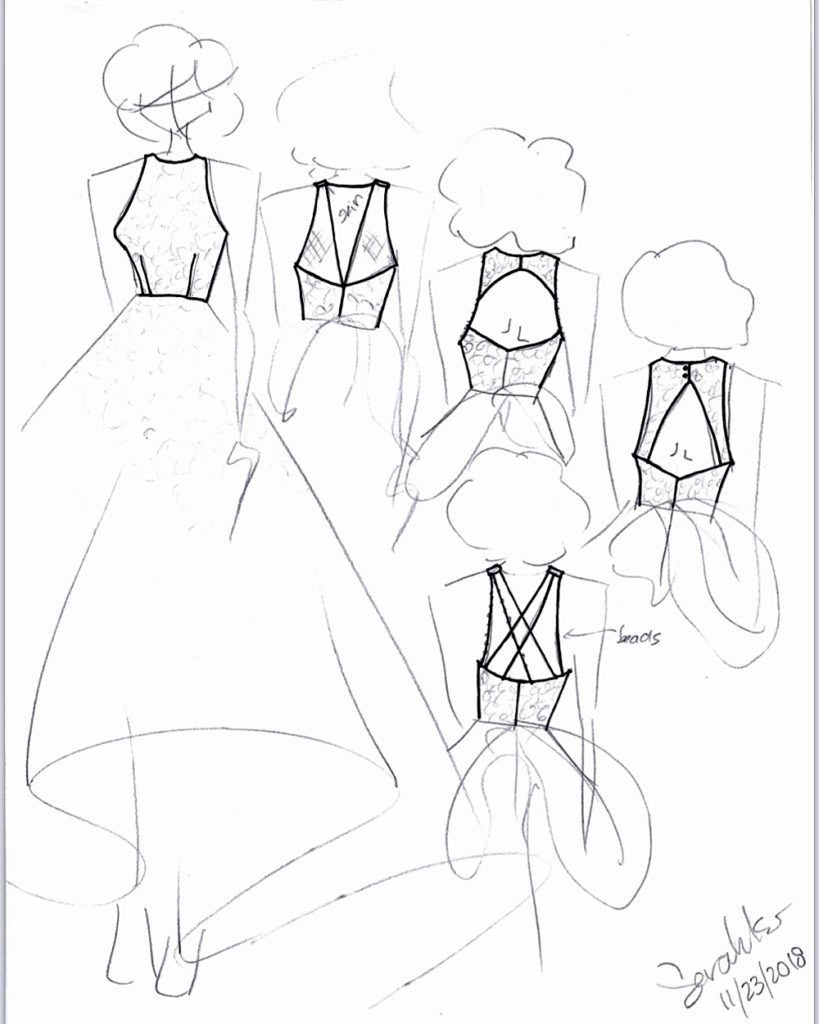
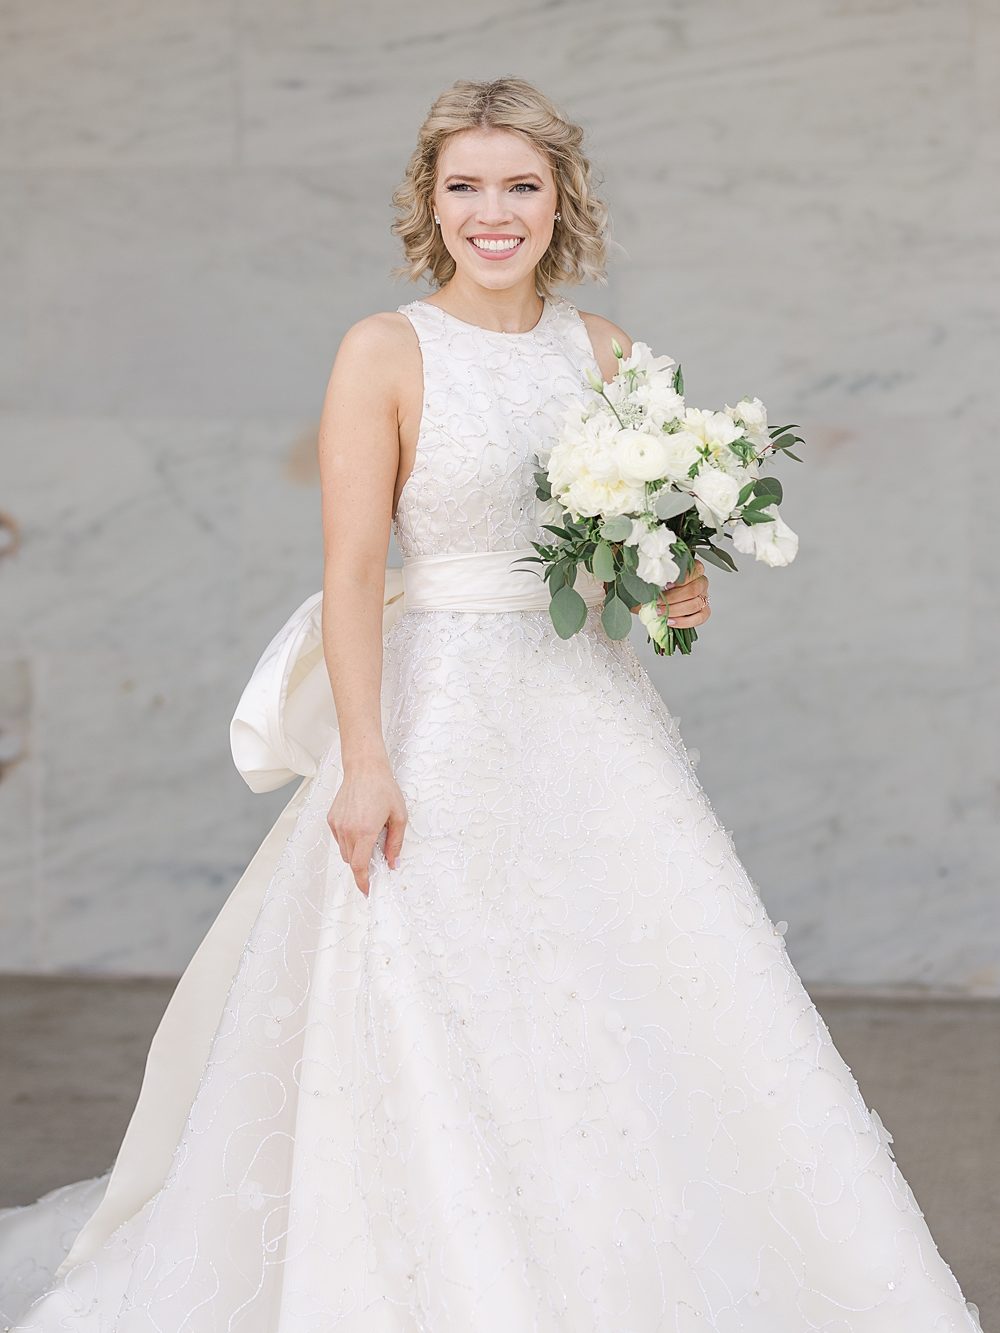
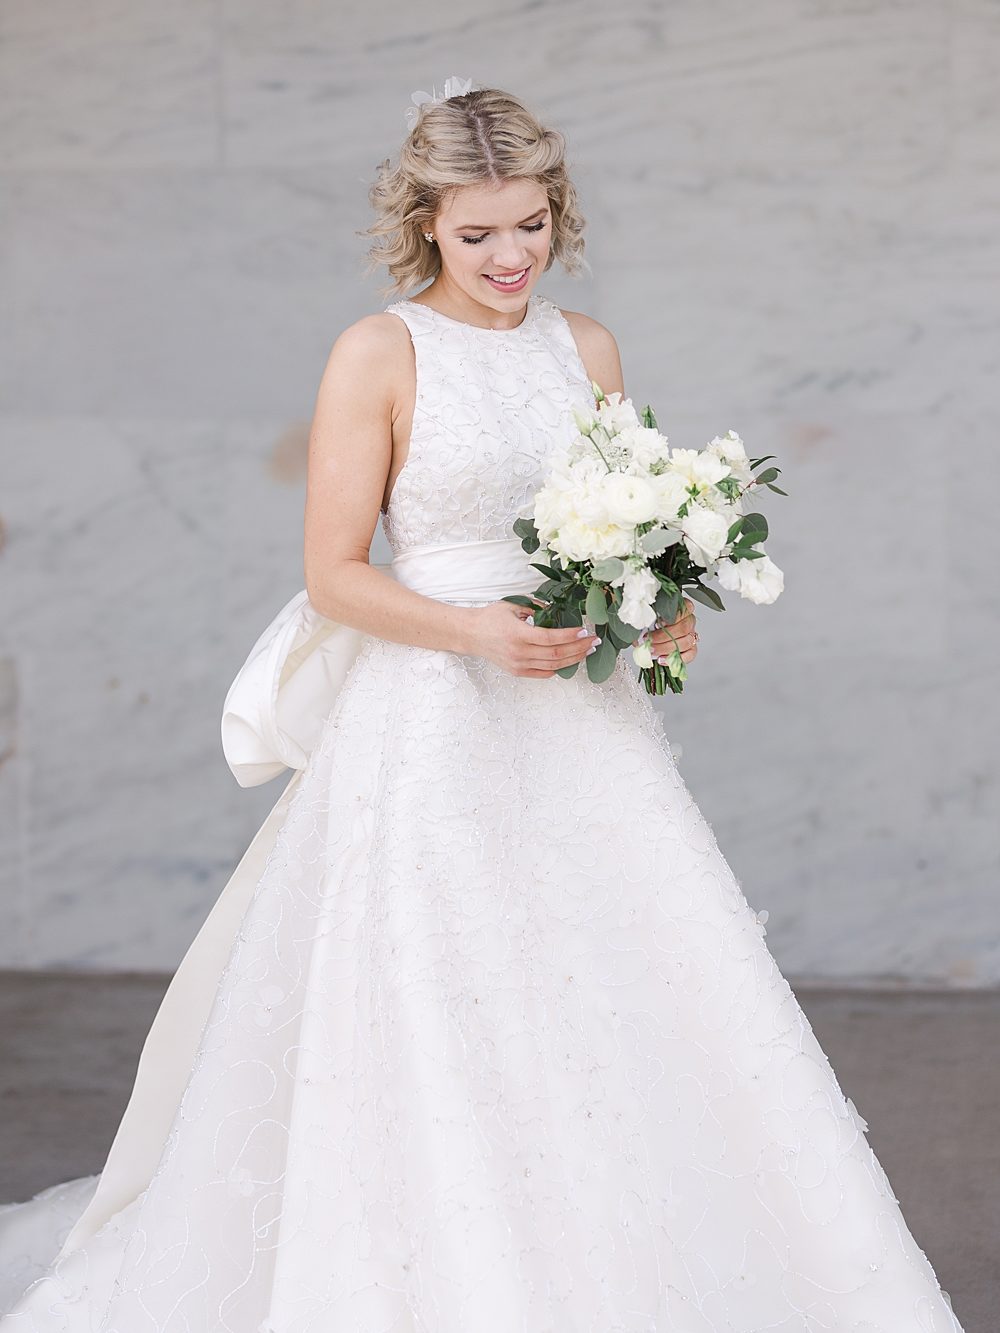
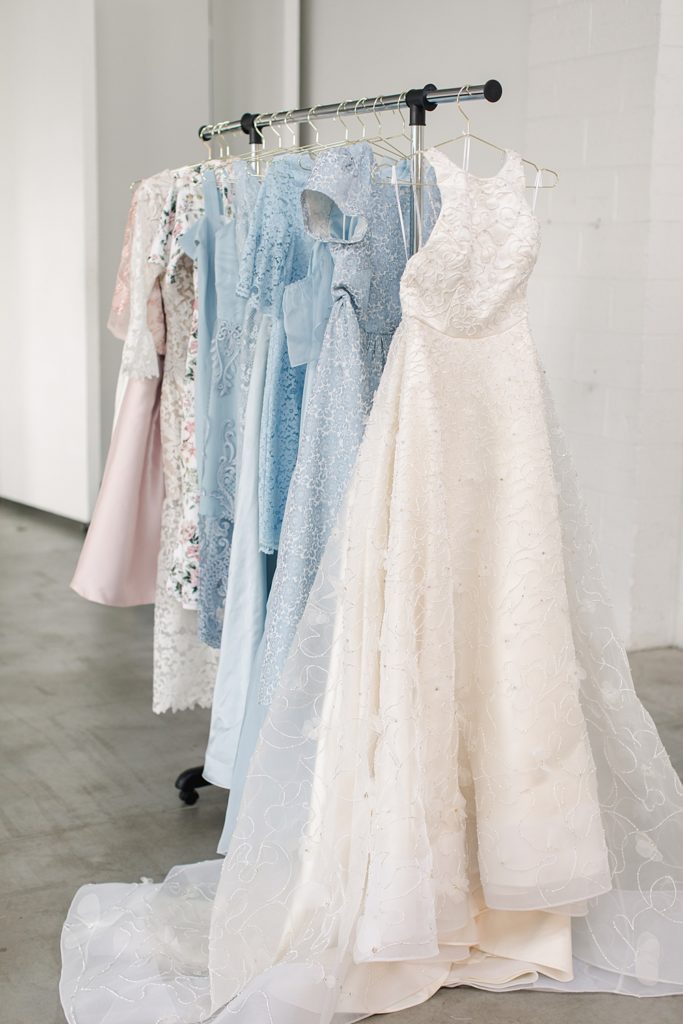
When Billy proposed in September of 2017, I did not waste time getting started on this heavy task. Planning is vital in any custom couture gown process, so I sat and sketched away. I brought my small sketchbook with me everywhere in preparation for the off-chance inspiration strikes throughout my day. I decided I wanted a gown with a bold statement, unique wow-factor, all-over pattern, yet still very elegant and sophisticated. Also, I desired design factors that could not be bought in stores because it is custom, after all!
Learning How to Create the Gown
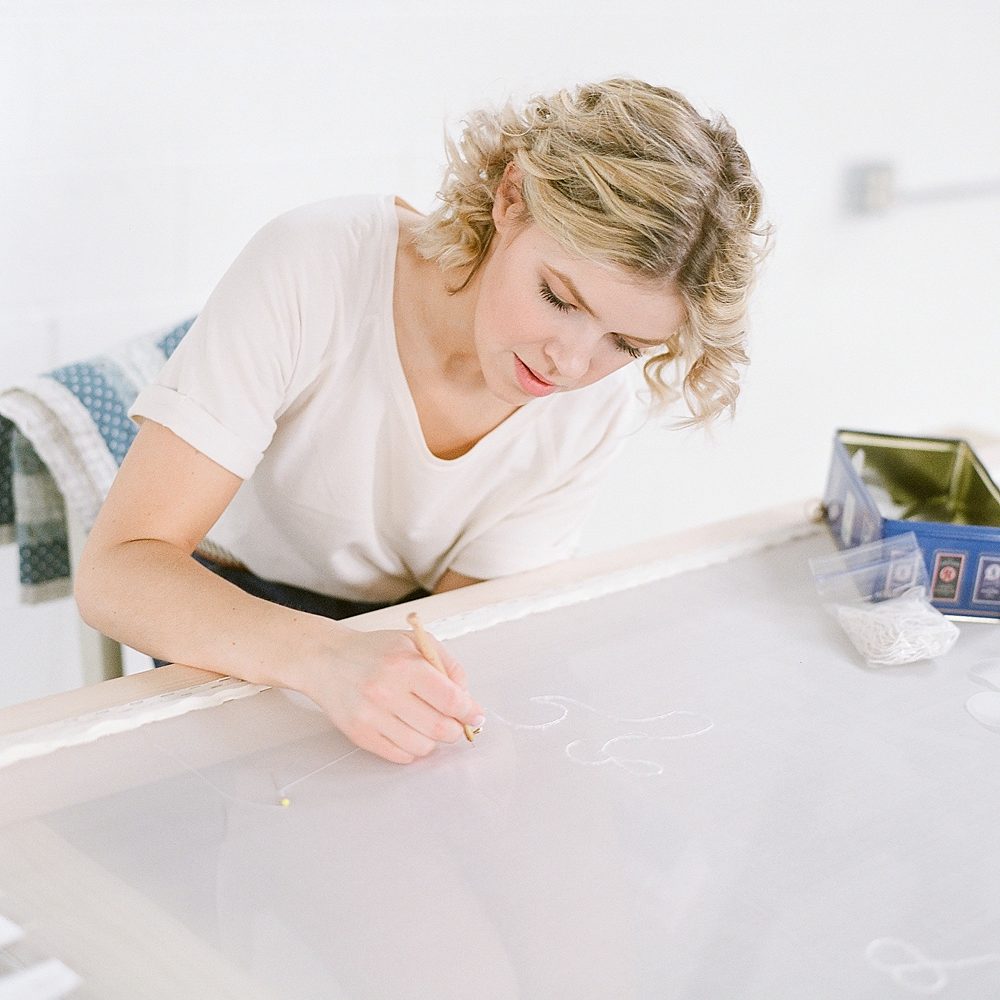
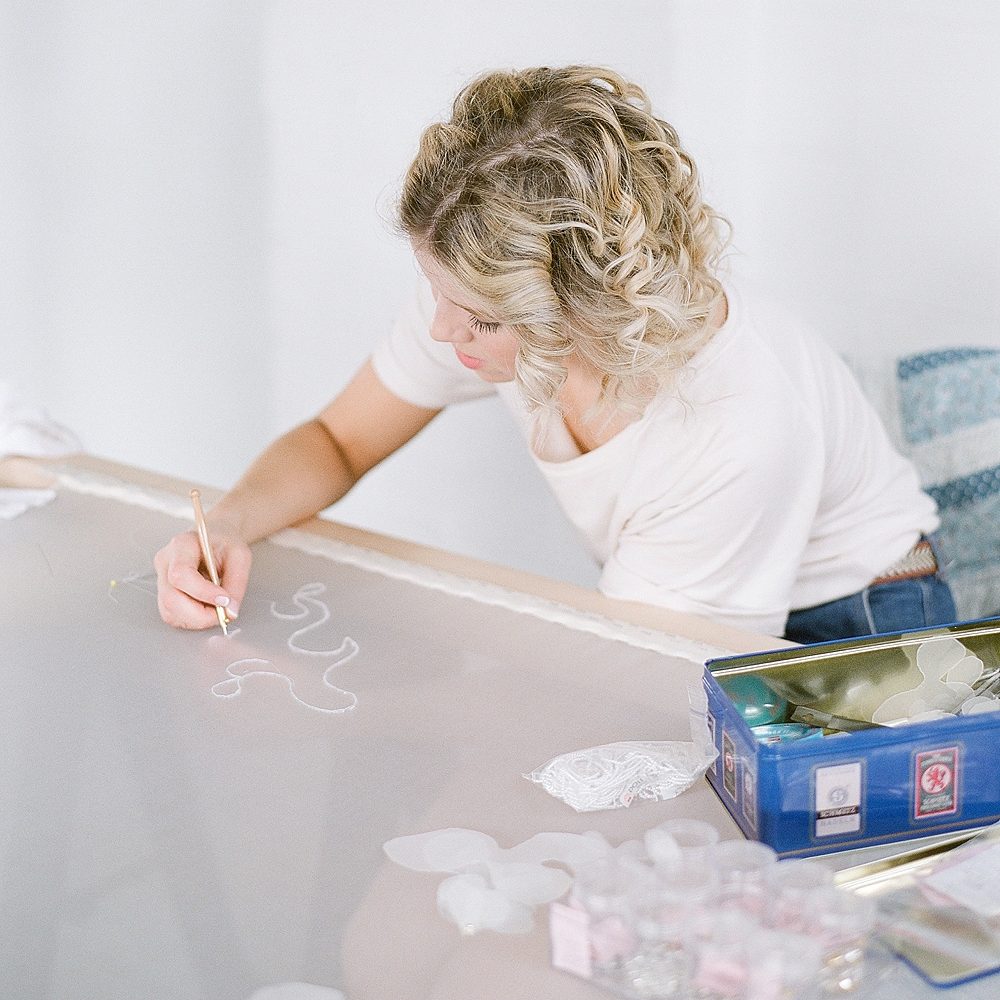
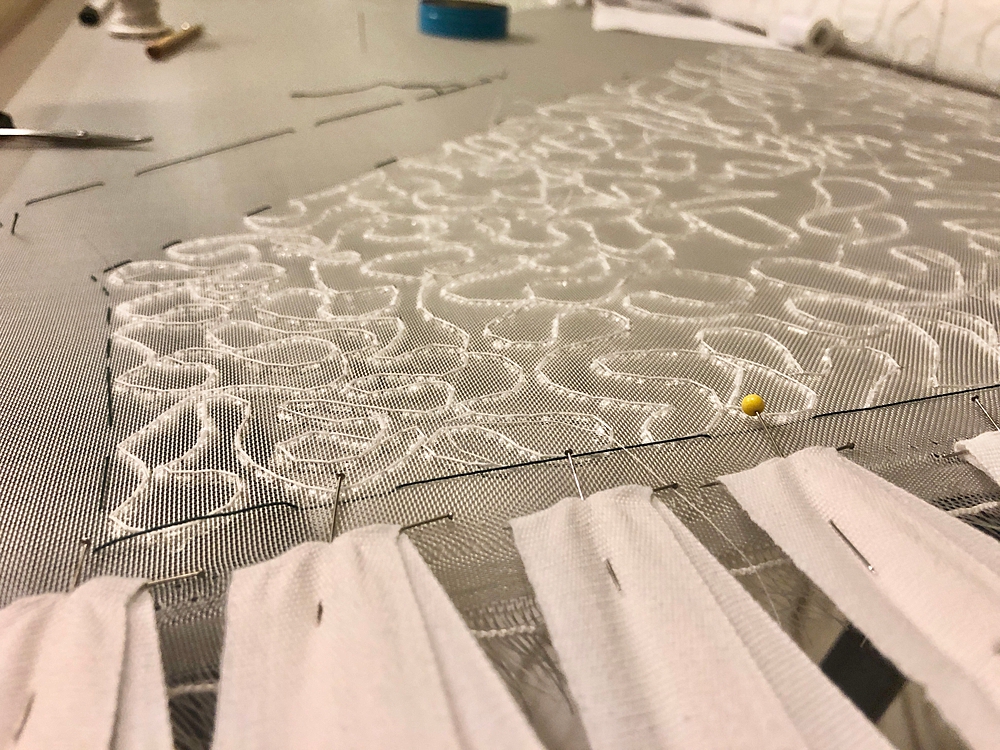
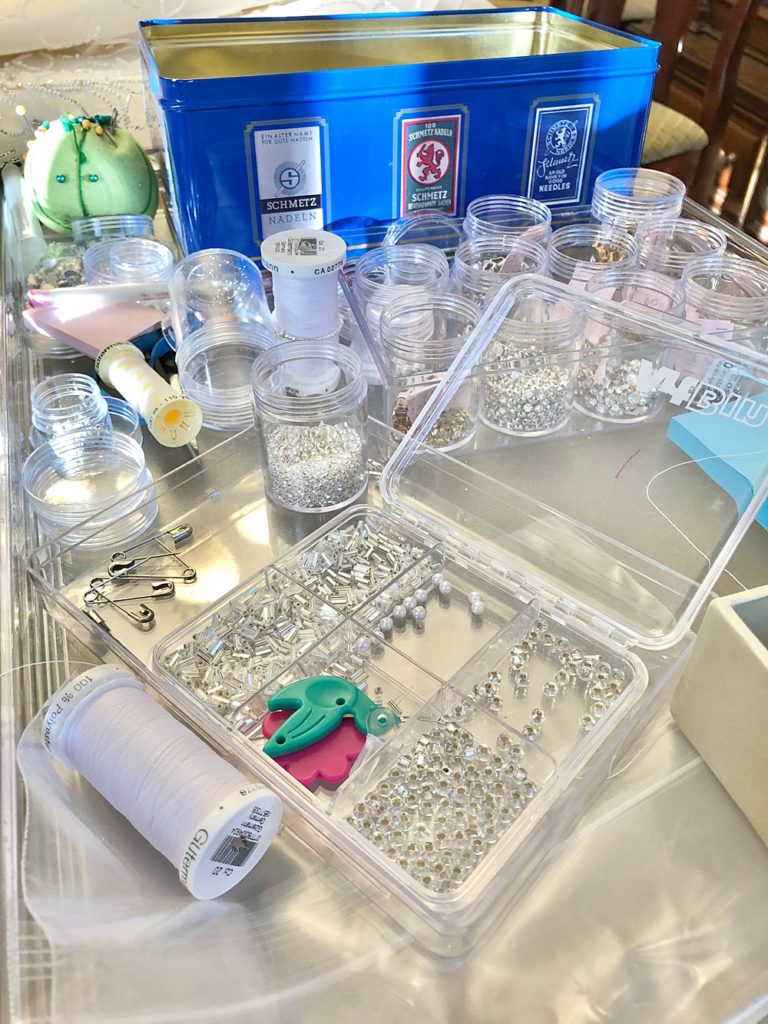
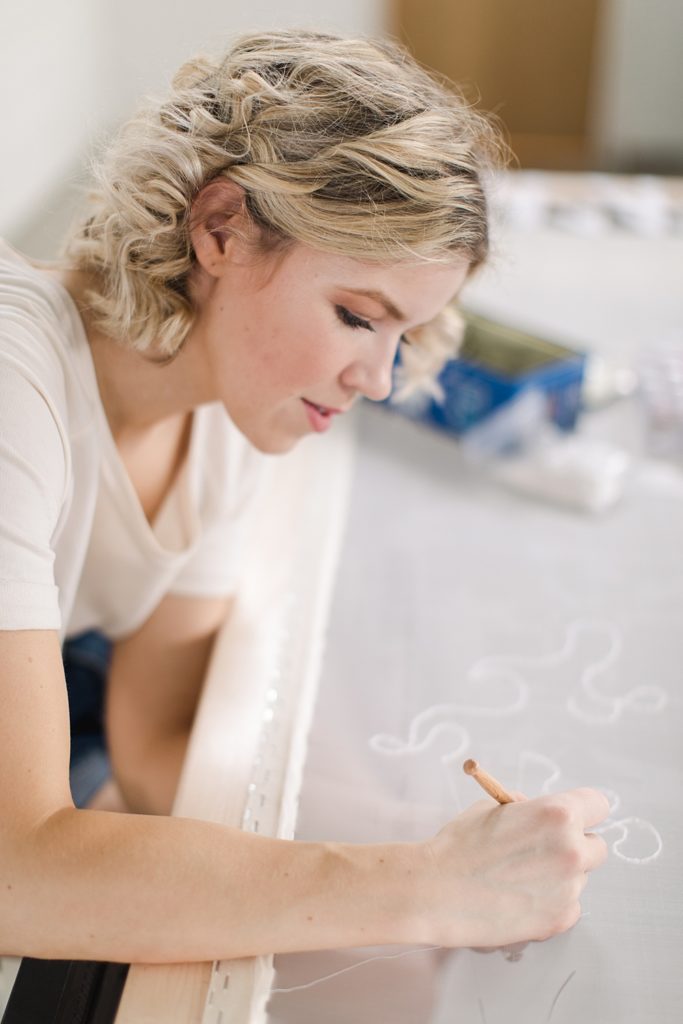
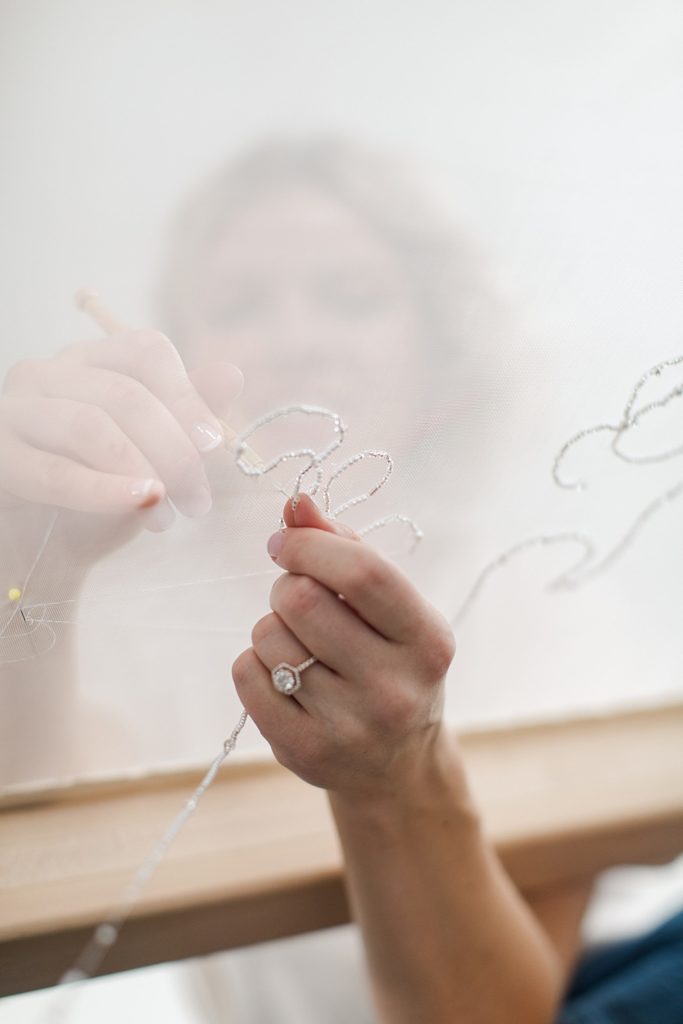
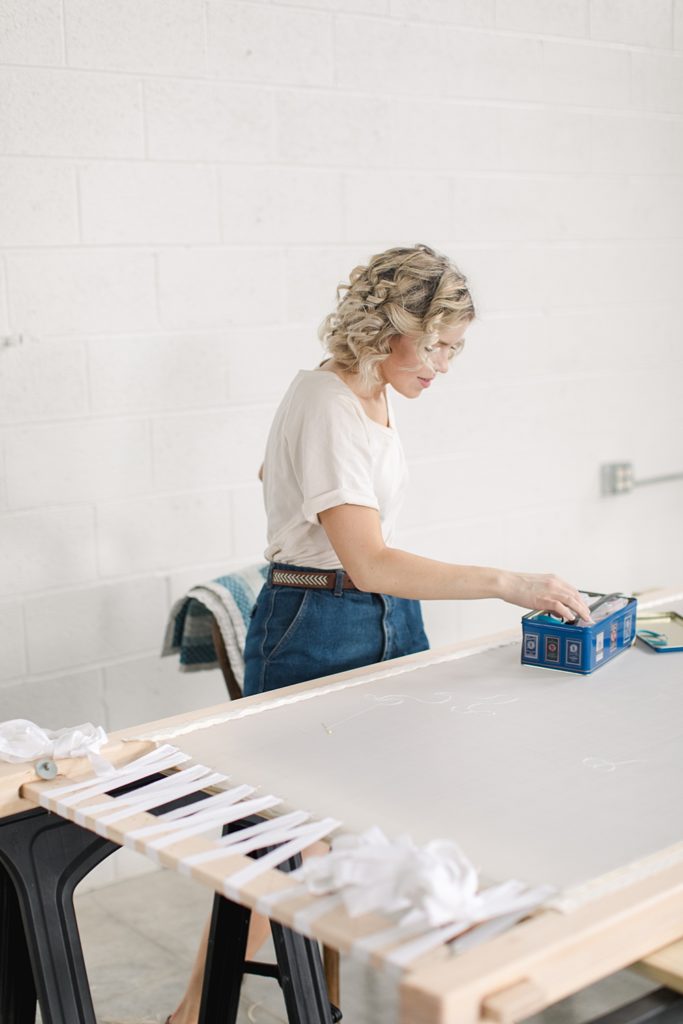
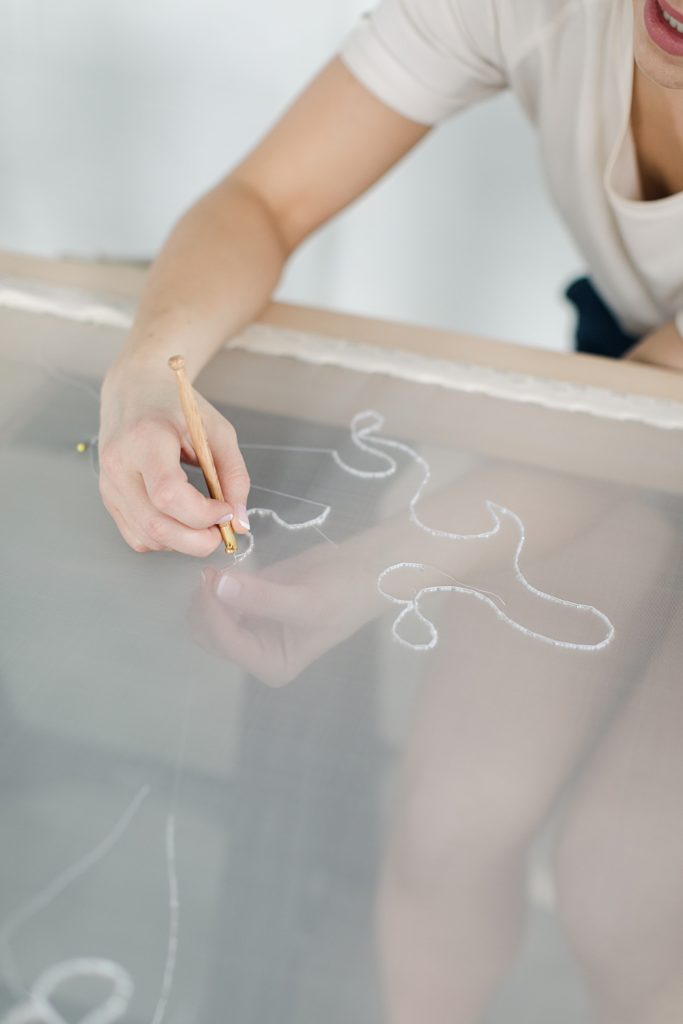
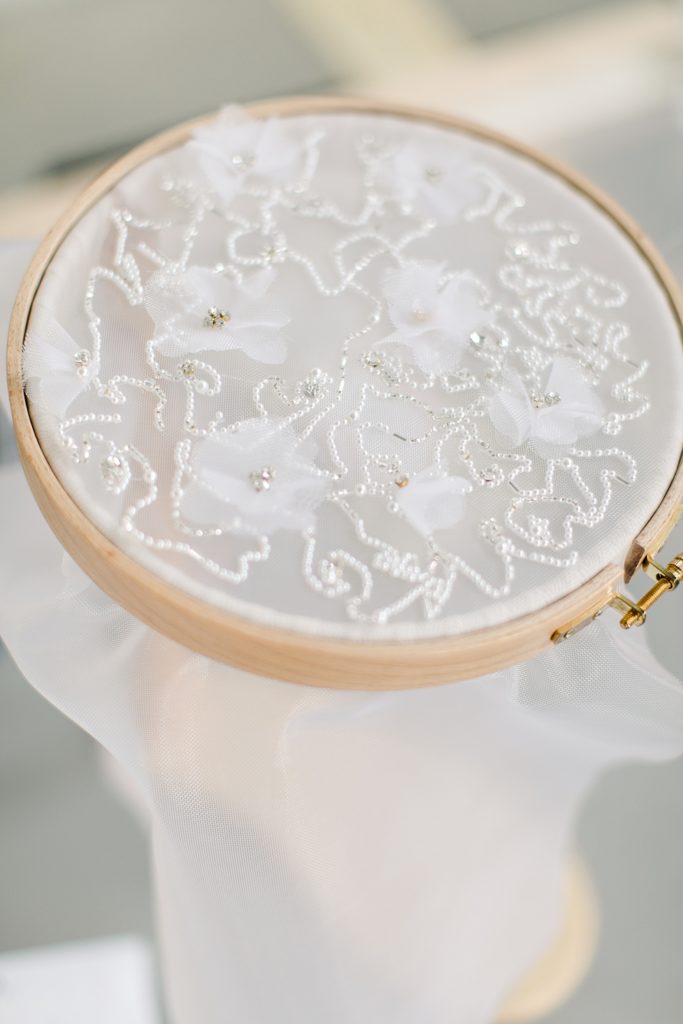
Tambour beading is something I had always dreamt of doing on my wedding dress but had not yet learned how to do it. Falling down the internet rabbit hole, I linked up with a woman named Jan that was very excited to teach me 1-1 how to do this beautiful craft. Yet, a few emails later, I discovered she lives in Dover, England. She asked if I would “fancy a trip across the pond to the old country.” How could you say no to that?! I figured I always wanted to learn this, so why not now? It was a great learning trip, and the fabric shopping in London sure didn’t hurt! Jan taught me the craft and gave me the confidence to tackle this enormous task all on my own. This tiny hand-detailing beadwork was just what I was looking for to create a beautiful all-over pattern for my gown.
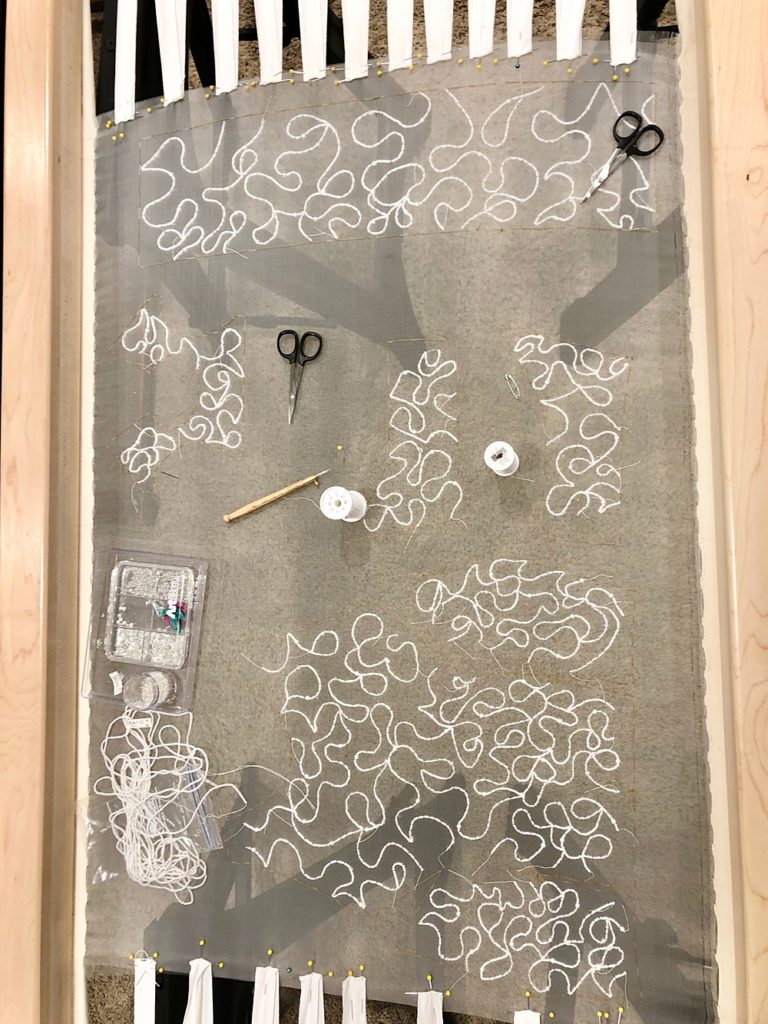
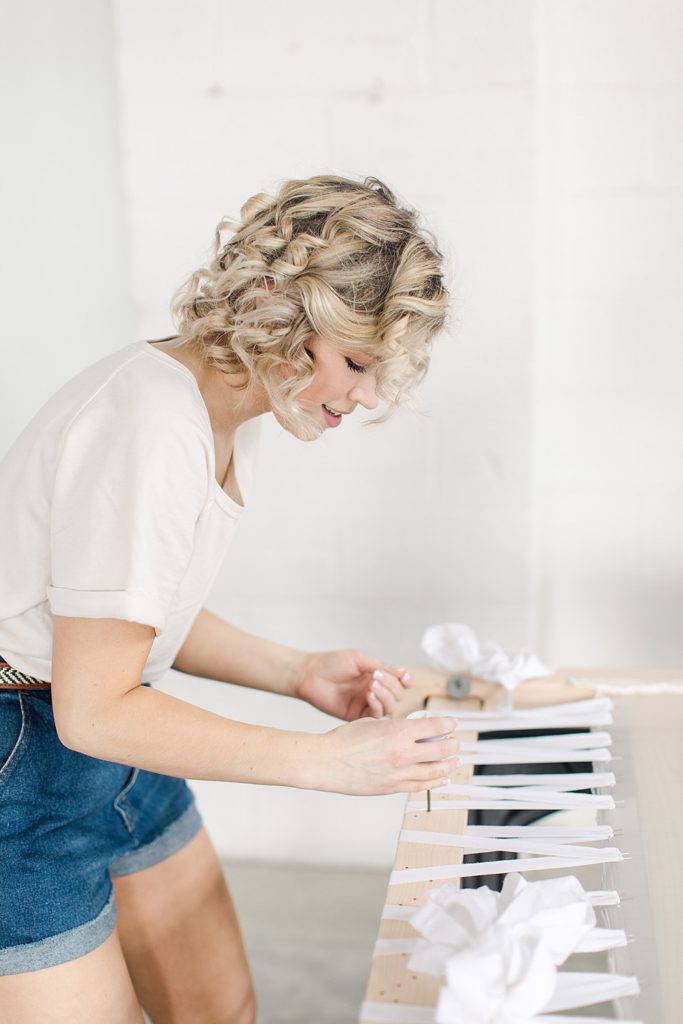
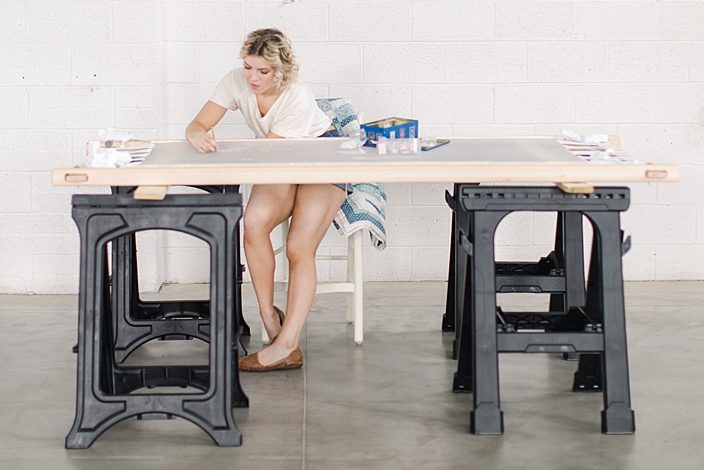
Family friend, Jim Carroll, became involved when I needed a custom tambour embroidery frame. The frame is not something you can simply purchase, so I gave him the blueprints I brought home from England. Soon after, I was at the frame beading away on my free-hand design.
Beading My Custom Wedding Gown
Since I was living at my parents’ house, I was doing my tambour beading in my bedroom. I pushed all my bedroom furniture to the edges of the room to make space. I literally had to climb under my tambour frame to get into bed. Of the seven skirt panels, my first beaded skirt panel had to be completely re-beaded after I realized I accidentally grabbed the wrong material. I almost died when I discovered this mistake at 4:00 am, but I decided to consider this panel “practice” and started over.
I beaded every minute I was home from my other full-time job or school. Some days, I would bead from 4:30 pm to 11 pm, with no breaks! I sacrificed several social activities and lots of sleep to get all this work done. From August through December, I beaded and beaded. This dress literally contained my blood, sweat, and tears!
Sewing My Gown
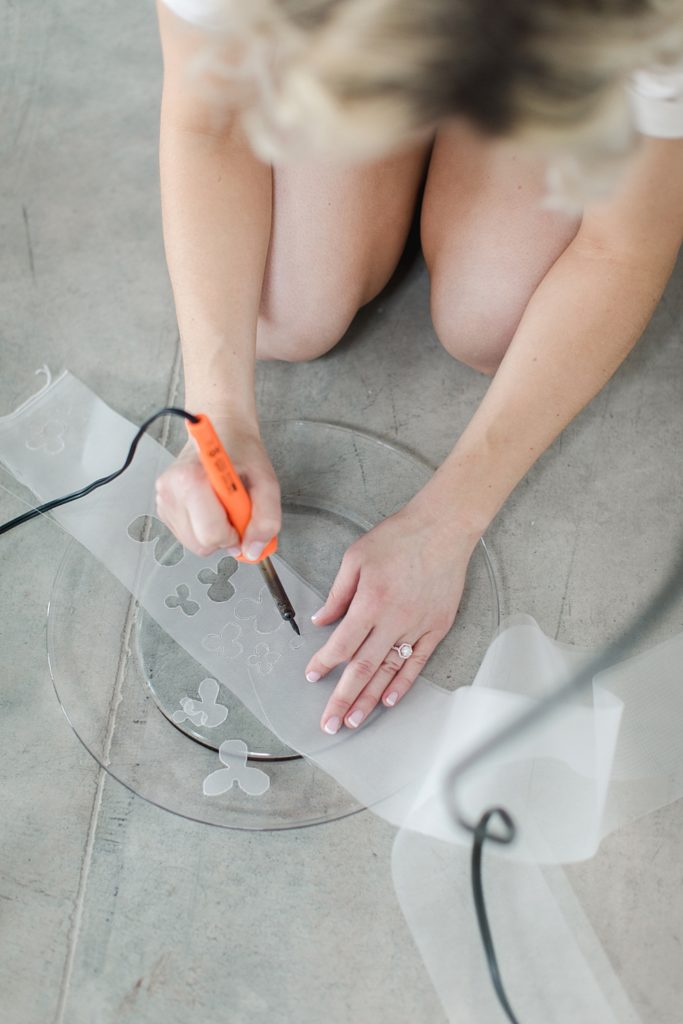
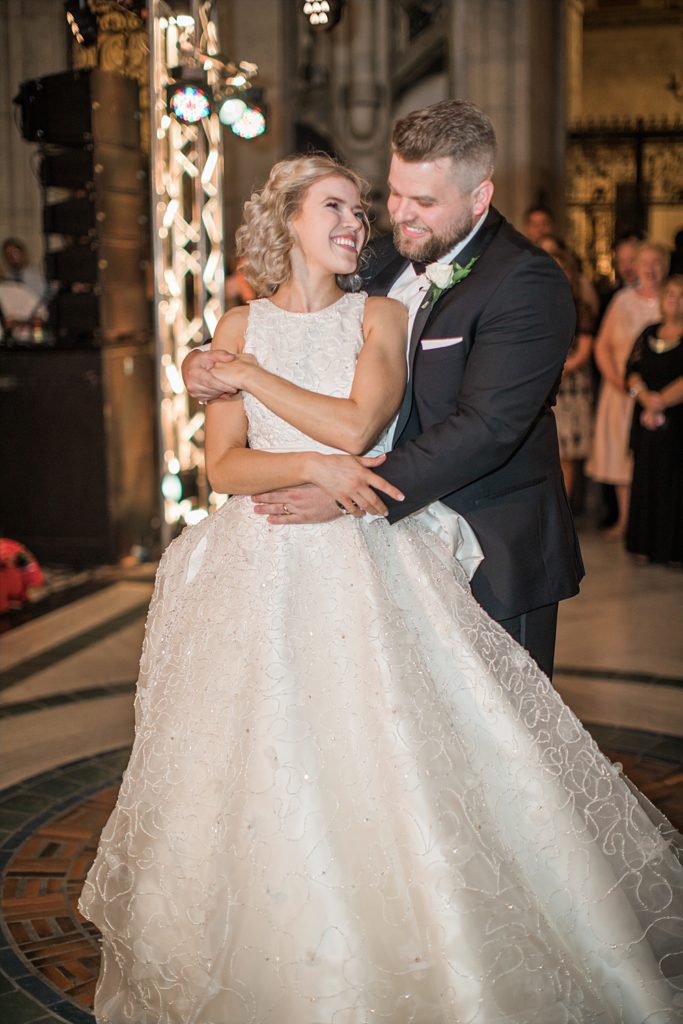
Once I completed all seven panels, it was time to move from my bedroom to the sewing machine in the basement. The beaded pieces were very delicate. The beads could cut the threads if folded or bent the wrong way. Also, because the dress was getting so heavy, my mother had to help hold the dress while I pushed it through the sewing machine. Little floral 3-dimensional motifs were added to the surface of the beading. My father handed me a hotmelt tool when I needed a solution to prevent the flowers’ raw edges from snagging when wearing the veil. It worked perfectly!
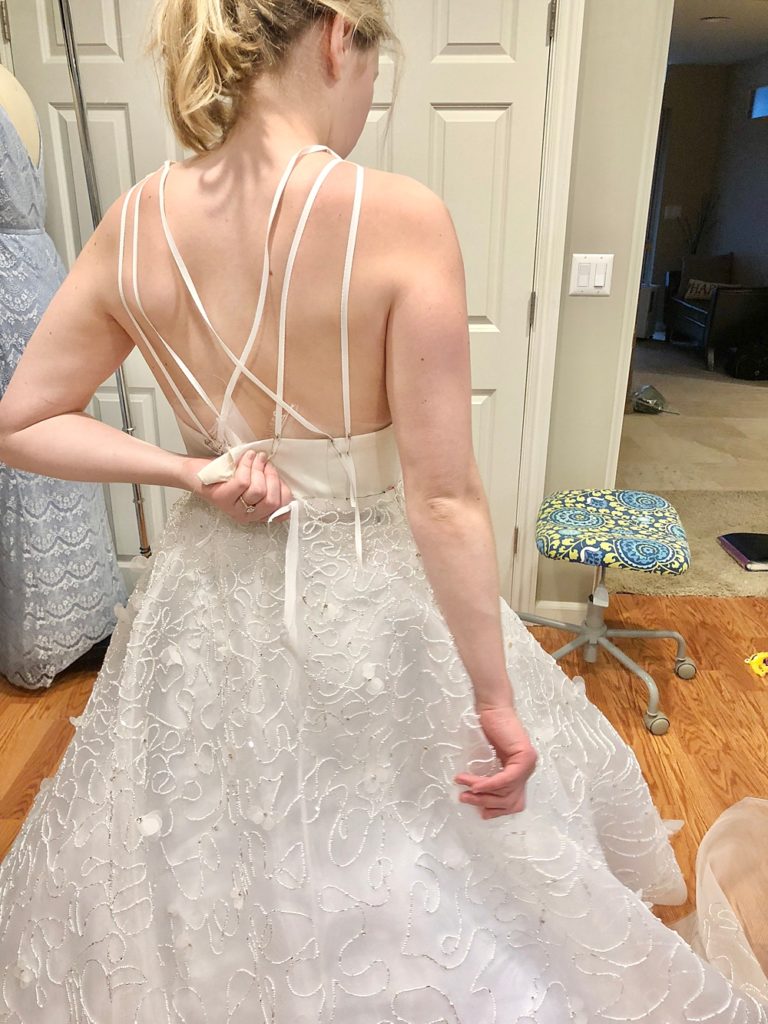
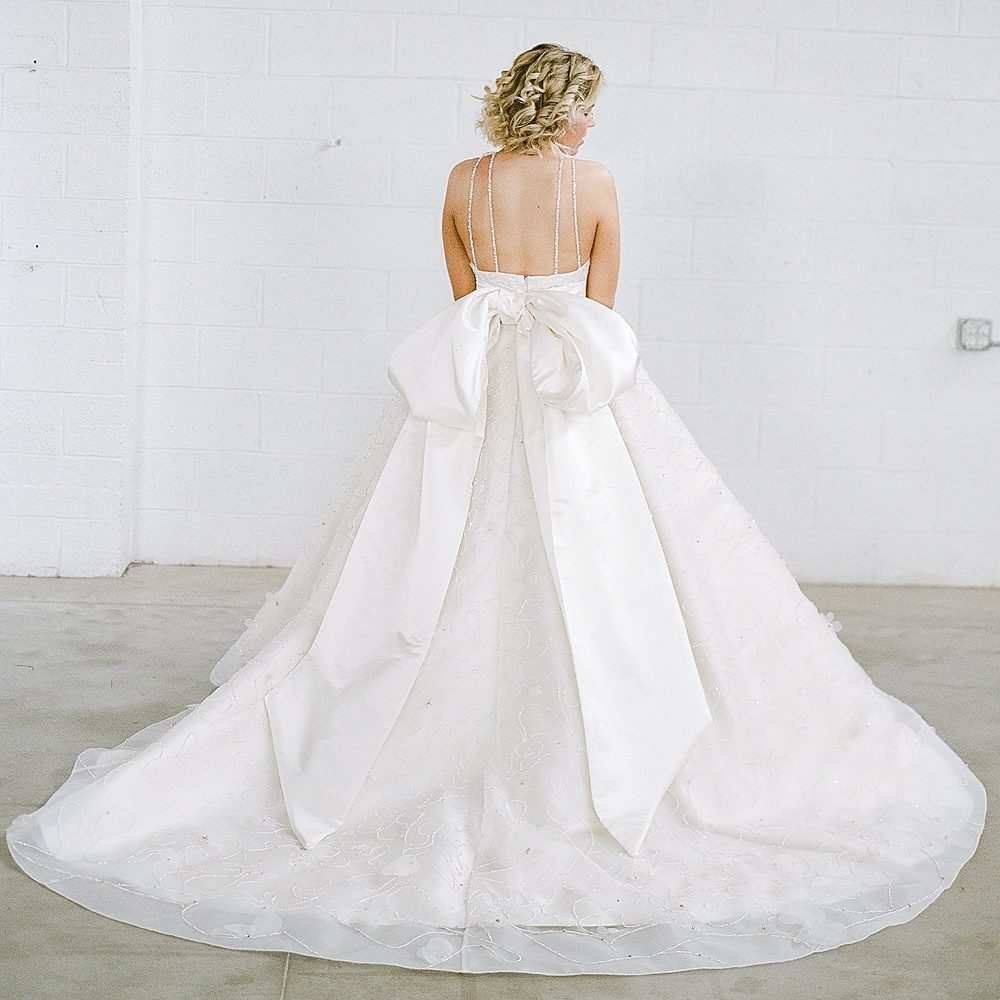
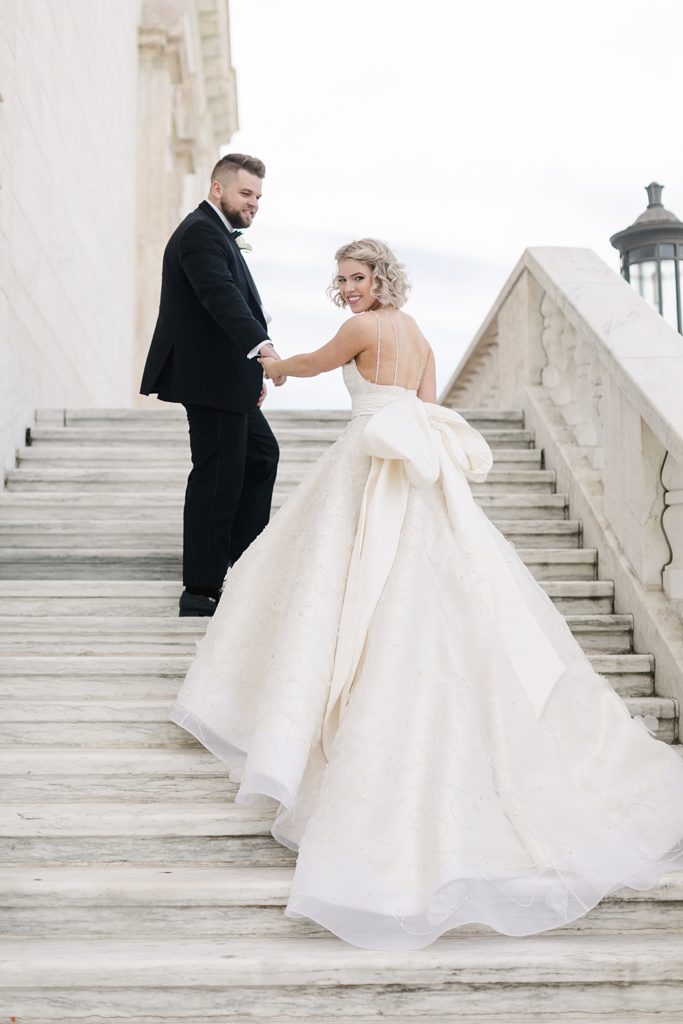
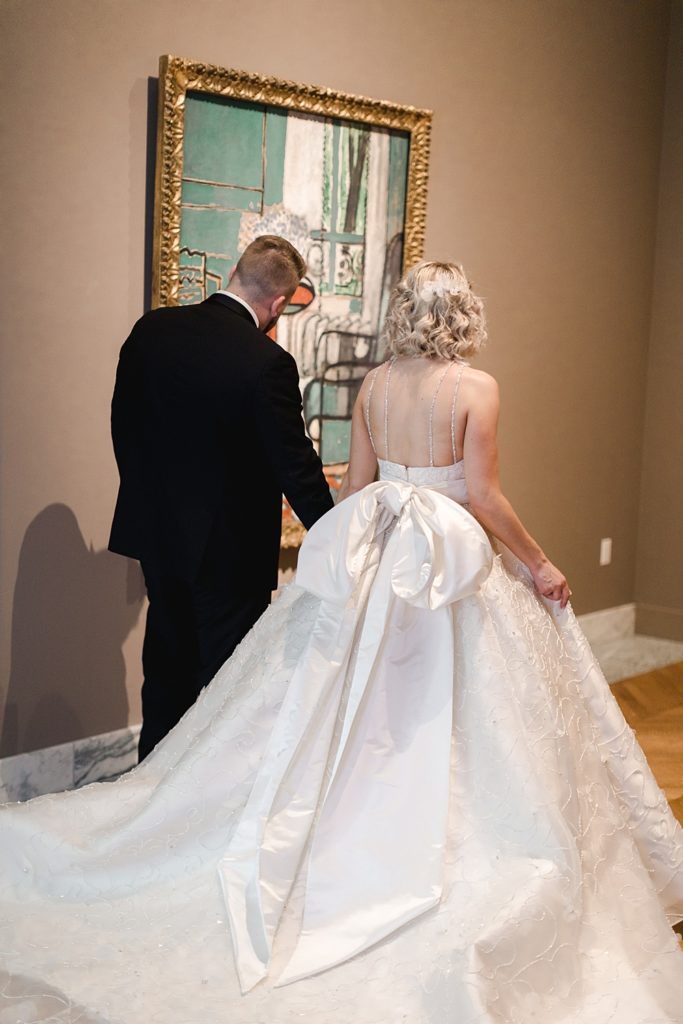
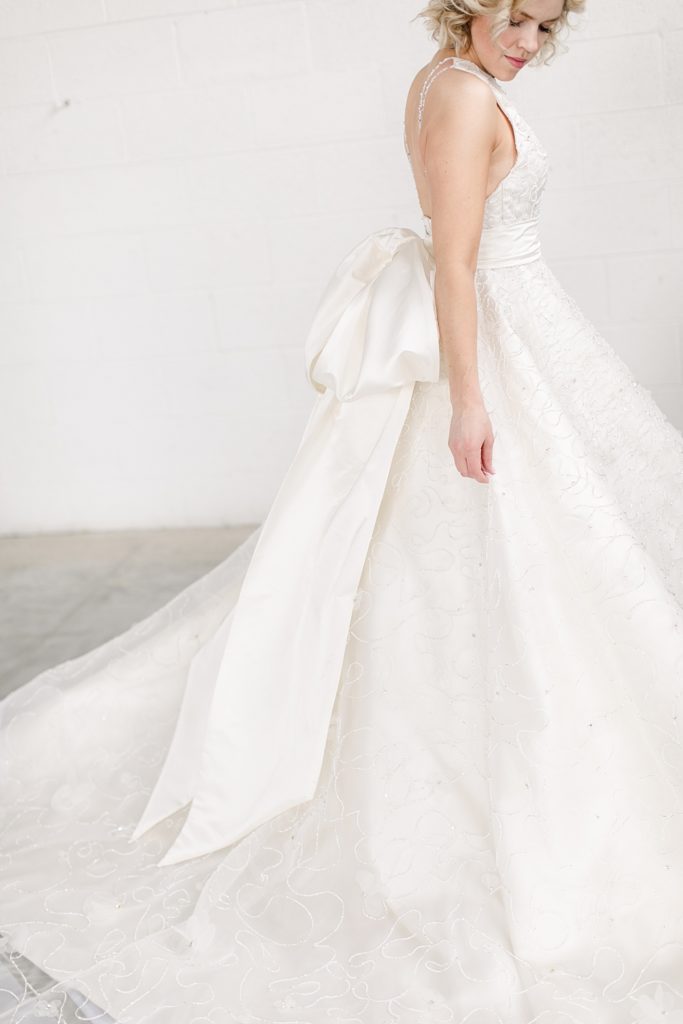
I chose a high-neck front and open back style with four thin beaded nylon horsehair straps. The hem I had completed then had to be re-done as I was erring on the side of caution and was in denial that it was just too long. Sewing friend Vicki convinced me to wear shorter heels and fix it right. 20 hours saved right there!
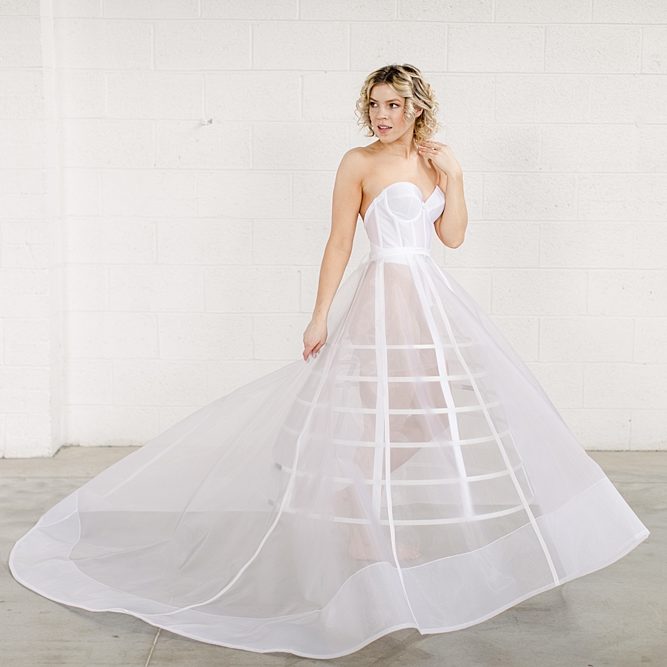
I researched historical caged crinoline skirt solutions and came up with my understructure. Working with many brides in the past, I hear too often how hot they feel. This was great because it allowed for airflow. I also made a nylon mesh overskirt to go between this cage and the dress itself. There was a lot of geometry involved in getting the steel to perfectly blend from one hoop to the other, as you can see in my beginning stages on the right photo; kind of fun, though! It was nice to ‘deflate’ and take these underlayers off throughout the night.
Trying On My Custom Wedding Gown
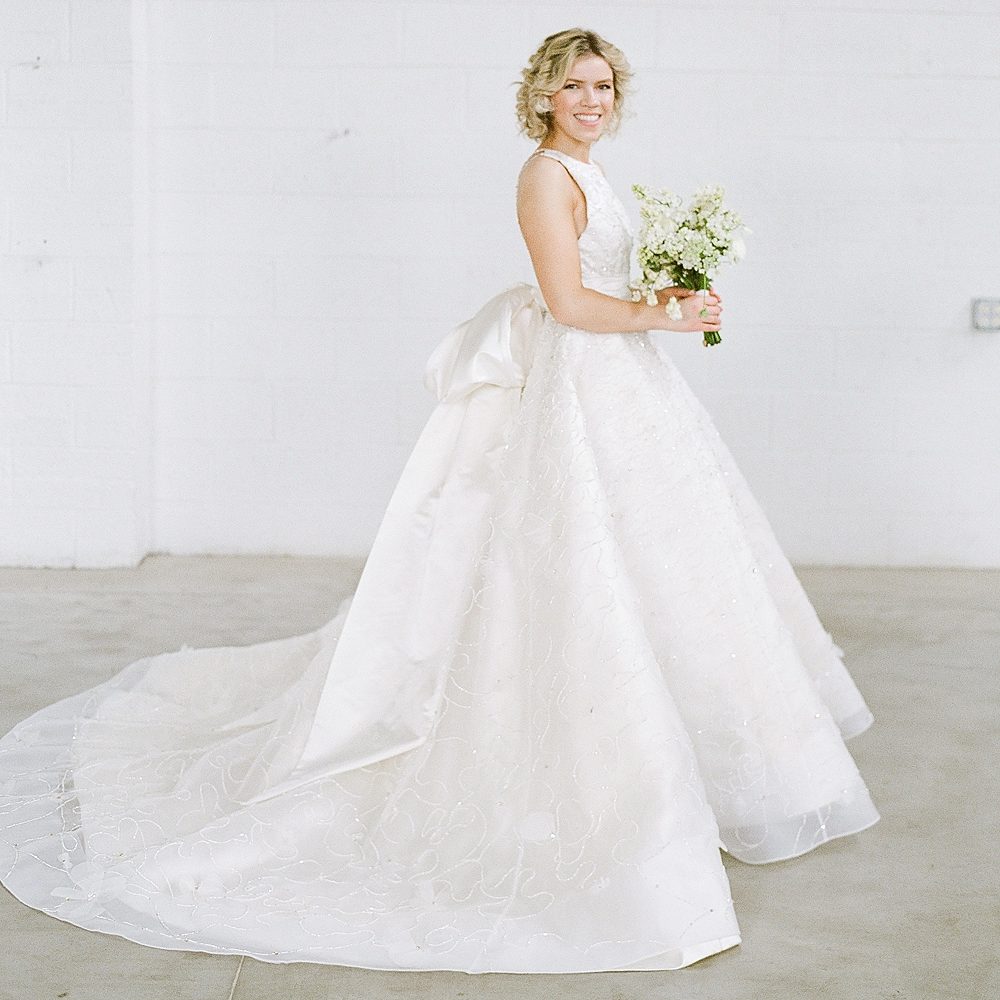
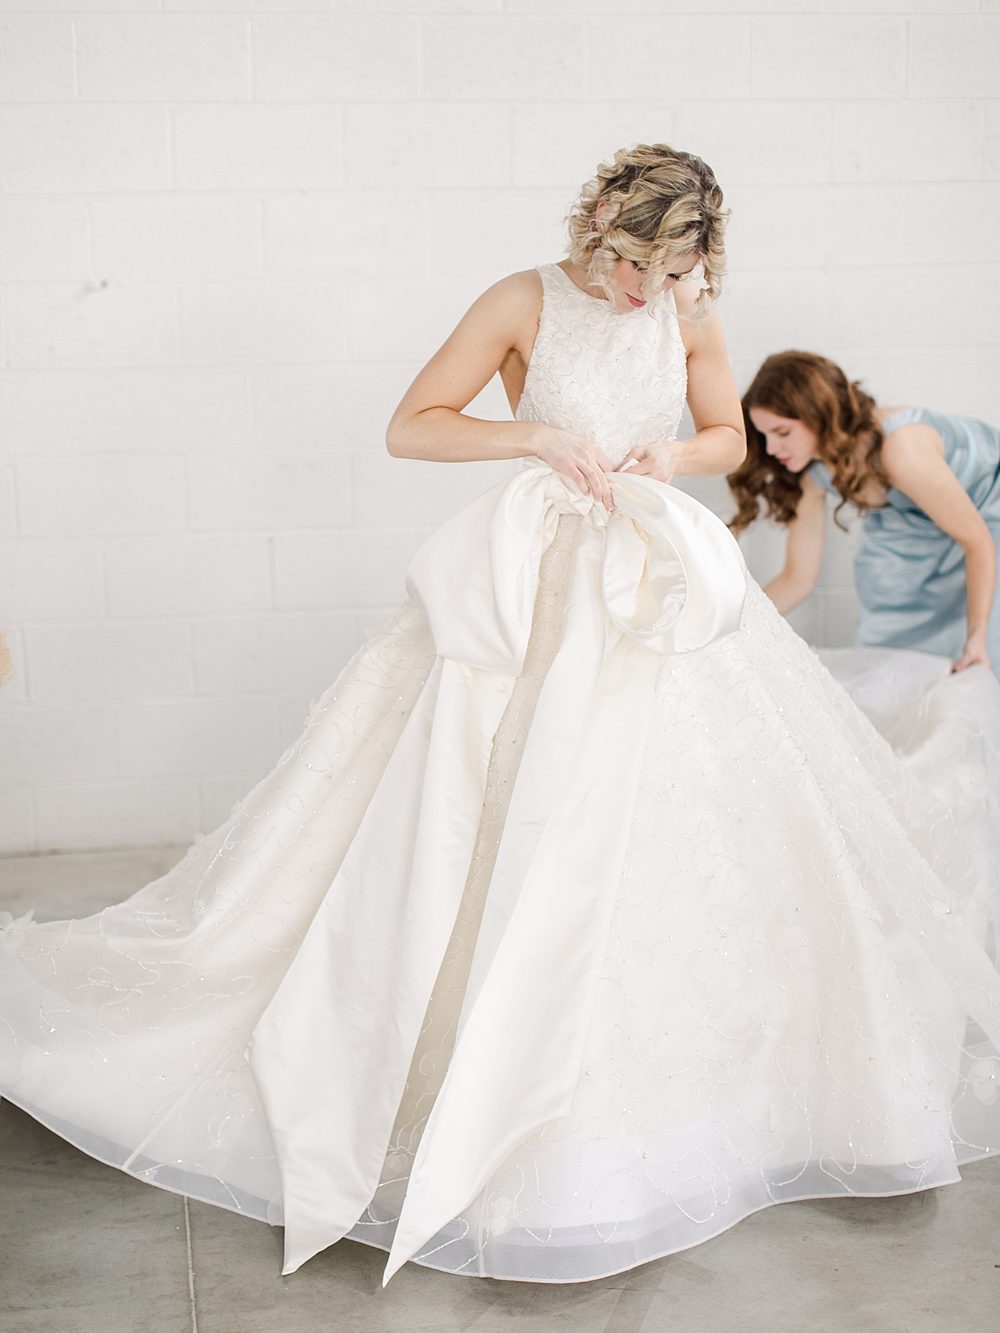
Once I put the gown and undergarments on together for the first time, I decided the train was a bit too short. I wanted a really full and wide train, but the outer mesh/beading layer could use another 6 inches or so in the center back. To add this length, I added fabric in a sort of irregular shape to cover the seam with beads. Obviously, I couldn’t put it back on the tambour frame at this point, so it had to be entirely beaded by hand. With this train, I did a 3-point over bustle that was perfectly hidden under my bustled bow.
Less than three months before the wedding, I had a bad day and decided that the gown just won’t work. I took my gown outside to see my progress in natural light, and it was all wrong. It is particularly beautiful in the sunlight, but the overcast clouds made the pearl beads look super stark white against the ivory underneath! On a sunny day, this gown would look beautiful. I figure, if I am going to re-do anything (or everything?), now is my last chance before I proceed further. Mom thought I was crazy! She assured me that June 8th would be a sunny day. At the end of the day, I had to take her word for it. Mothers really do know best! June 8th was a sunny day, and those beads looked beautiful!
Completing My Custom Wedding Gown
No wedding dress is complete without a veil. My handmade veil was extra long and wide for a dramatic flow. Lucky for me, the design of my gown called for a very simple veil, so I was able to feel a much-needed relief with this project.
To complete my wedding dress, I relied on the crucial advice my mom always gave. My mother was my girl scout troop leader as a little girl, and every craft project we did, she would tell us to complete it with a cute little satin ribbon bow. So here I am, an engaged adult woman, completing my project with a silk duchess satin bow perfectly wrapped around my waist and tied in a beautiful big floppy bow with tails that cascade down the train of my dress. It was too wrinkly-looking initially, so I unstitched everything and added a nylon mesh backing; it looked much better that way!
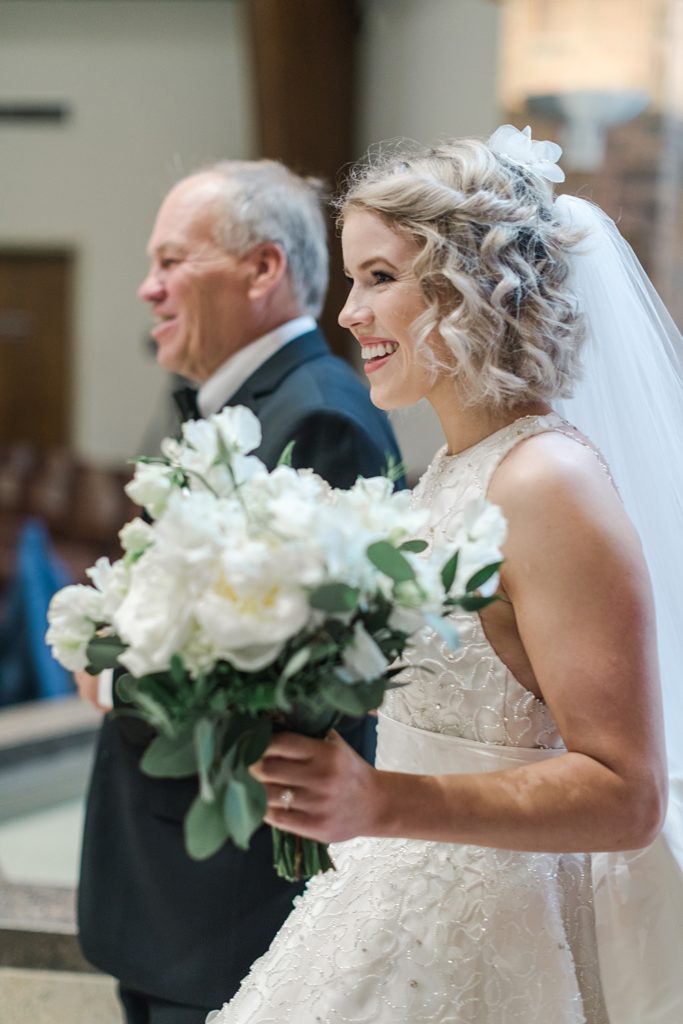
Walking down the aisle on my wedding day in my own custom couture bridal gown made just for me, by me, was one of the most rewarding experiences of my life, and I take every moment of this memory in admiration. I could not have been any happier!
Fun Facts
- The physical wedding gown creation itself took 415.25 hours to complete
- 129,022 individual beads and rhinestones were used on the gown
- 39 yards of fabric used
- 4 layers of material plus an underskirt and metal cage
- 2 pockets
- 7 skirt panels
- 20+ try-ons
